
AWS Amplify: Cheap And Easy React Websites
AWS Amplify: Cheap And Easy React Websites


The world of web hosting can be daunting for beginners. Doing a quick search it appears as though static web hosting typically costs around $5-$10 per month and can be quite daunting for first users. In my opinion, AWS Amplify is one of the best options for developers looking to start out with web development. With AWS Amplify you only pay for the traffic you use. For most starting websites this ends up being significantly cheaper than having dedicated hosting.
The website I currently host through AWS Amplify is roughly 500MB in size and has served 0.093 GB of traffic over the past month. The costs of AWS Amplify are $0.023 per GB stored per month and $0.15 per GB served. That means this website costs $0.03 to host this month. For developers who are looking to start out with web development this is a great option to build websites at a low cost through an easy to use interface. Today, we’ll take a look at how to build your first website using React and Amplify.
1. Find a template and set up a GitHub Repo
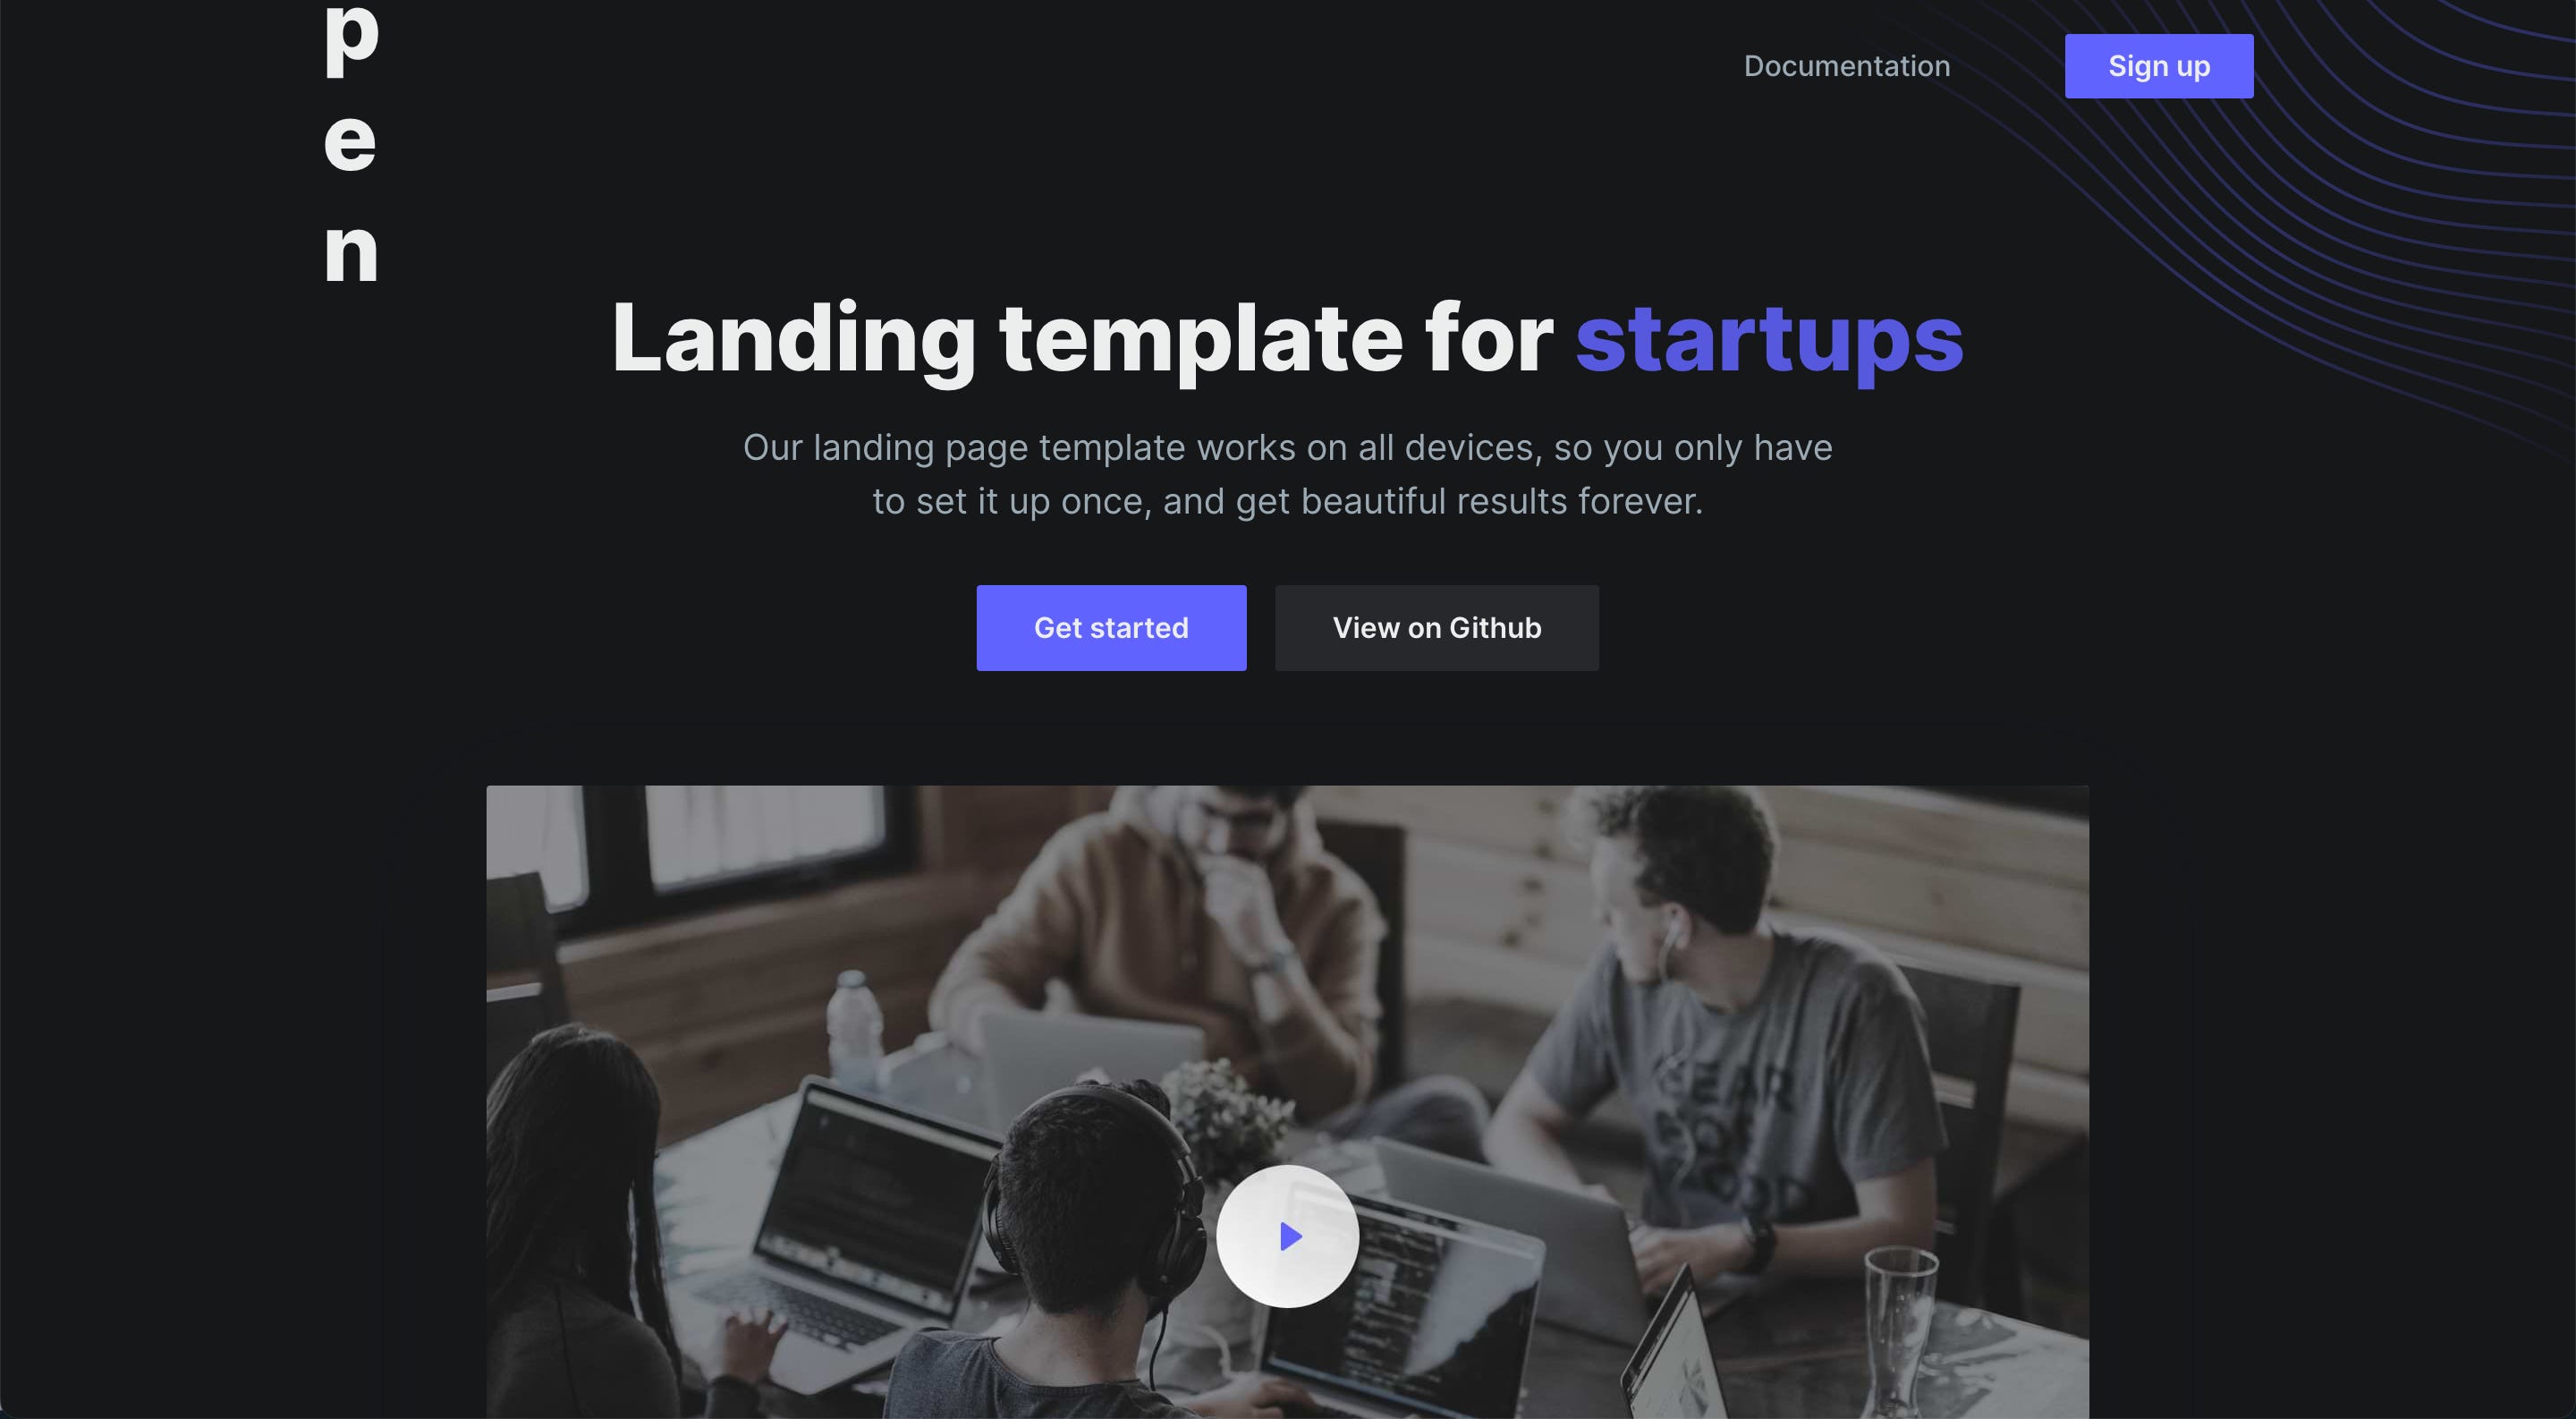
In order to keep this guide as simple as possible, we’re going to start from an open source template. I found the following open source template for a landing page in React. Create a new GitHub repository and clone this repo into it. I recommend using the WebStorm IDE for web development, but any IDE with GIT support is alright.
In your root directory install the dependencies and run the website locally to see if everything works correctly.
npm install
npm start
Now the website should be visible in your browser on http://localhost:3000 (note, you may be prompted to run ‘npm audit fix’ before being able to run ‘npm start’, usually the console will tell you what to do).
2. Making some small changes to the template
Before we host our website on Amplify we want to make some changes. To keep things simple, we’re just going to make a few small changes to make a demo landing page for a web development business.
The first order of business will be to change the assets somewhat. If we go to the src/assets/images directory we can see the images that are used on our current landing page. Any images we want to use in our website should be placed in this directory.
Let’s change the video link into an image of our choice.
First, add the image you would like to use to the images directory. Then, go to components/sections/Hero.js and look for the div that defines what is currently our video.
<Image
  className="has-shadow"
  src={require('./../../assets/images/video-placeholder.jpg')}
  alt="Hero"
  width={896}
  height={504} />
This is where our image is currently defined. Replace the ‘video-placeholder.jpg’ with the name of your image and play around with the width and height parameters until it looks decent. Now our landing page should look like this:
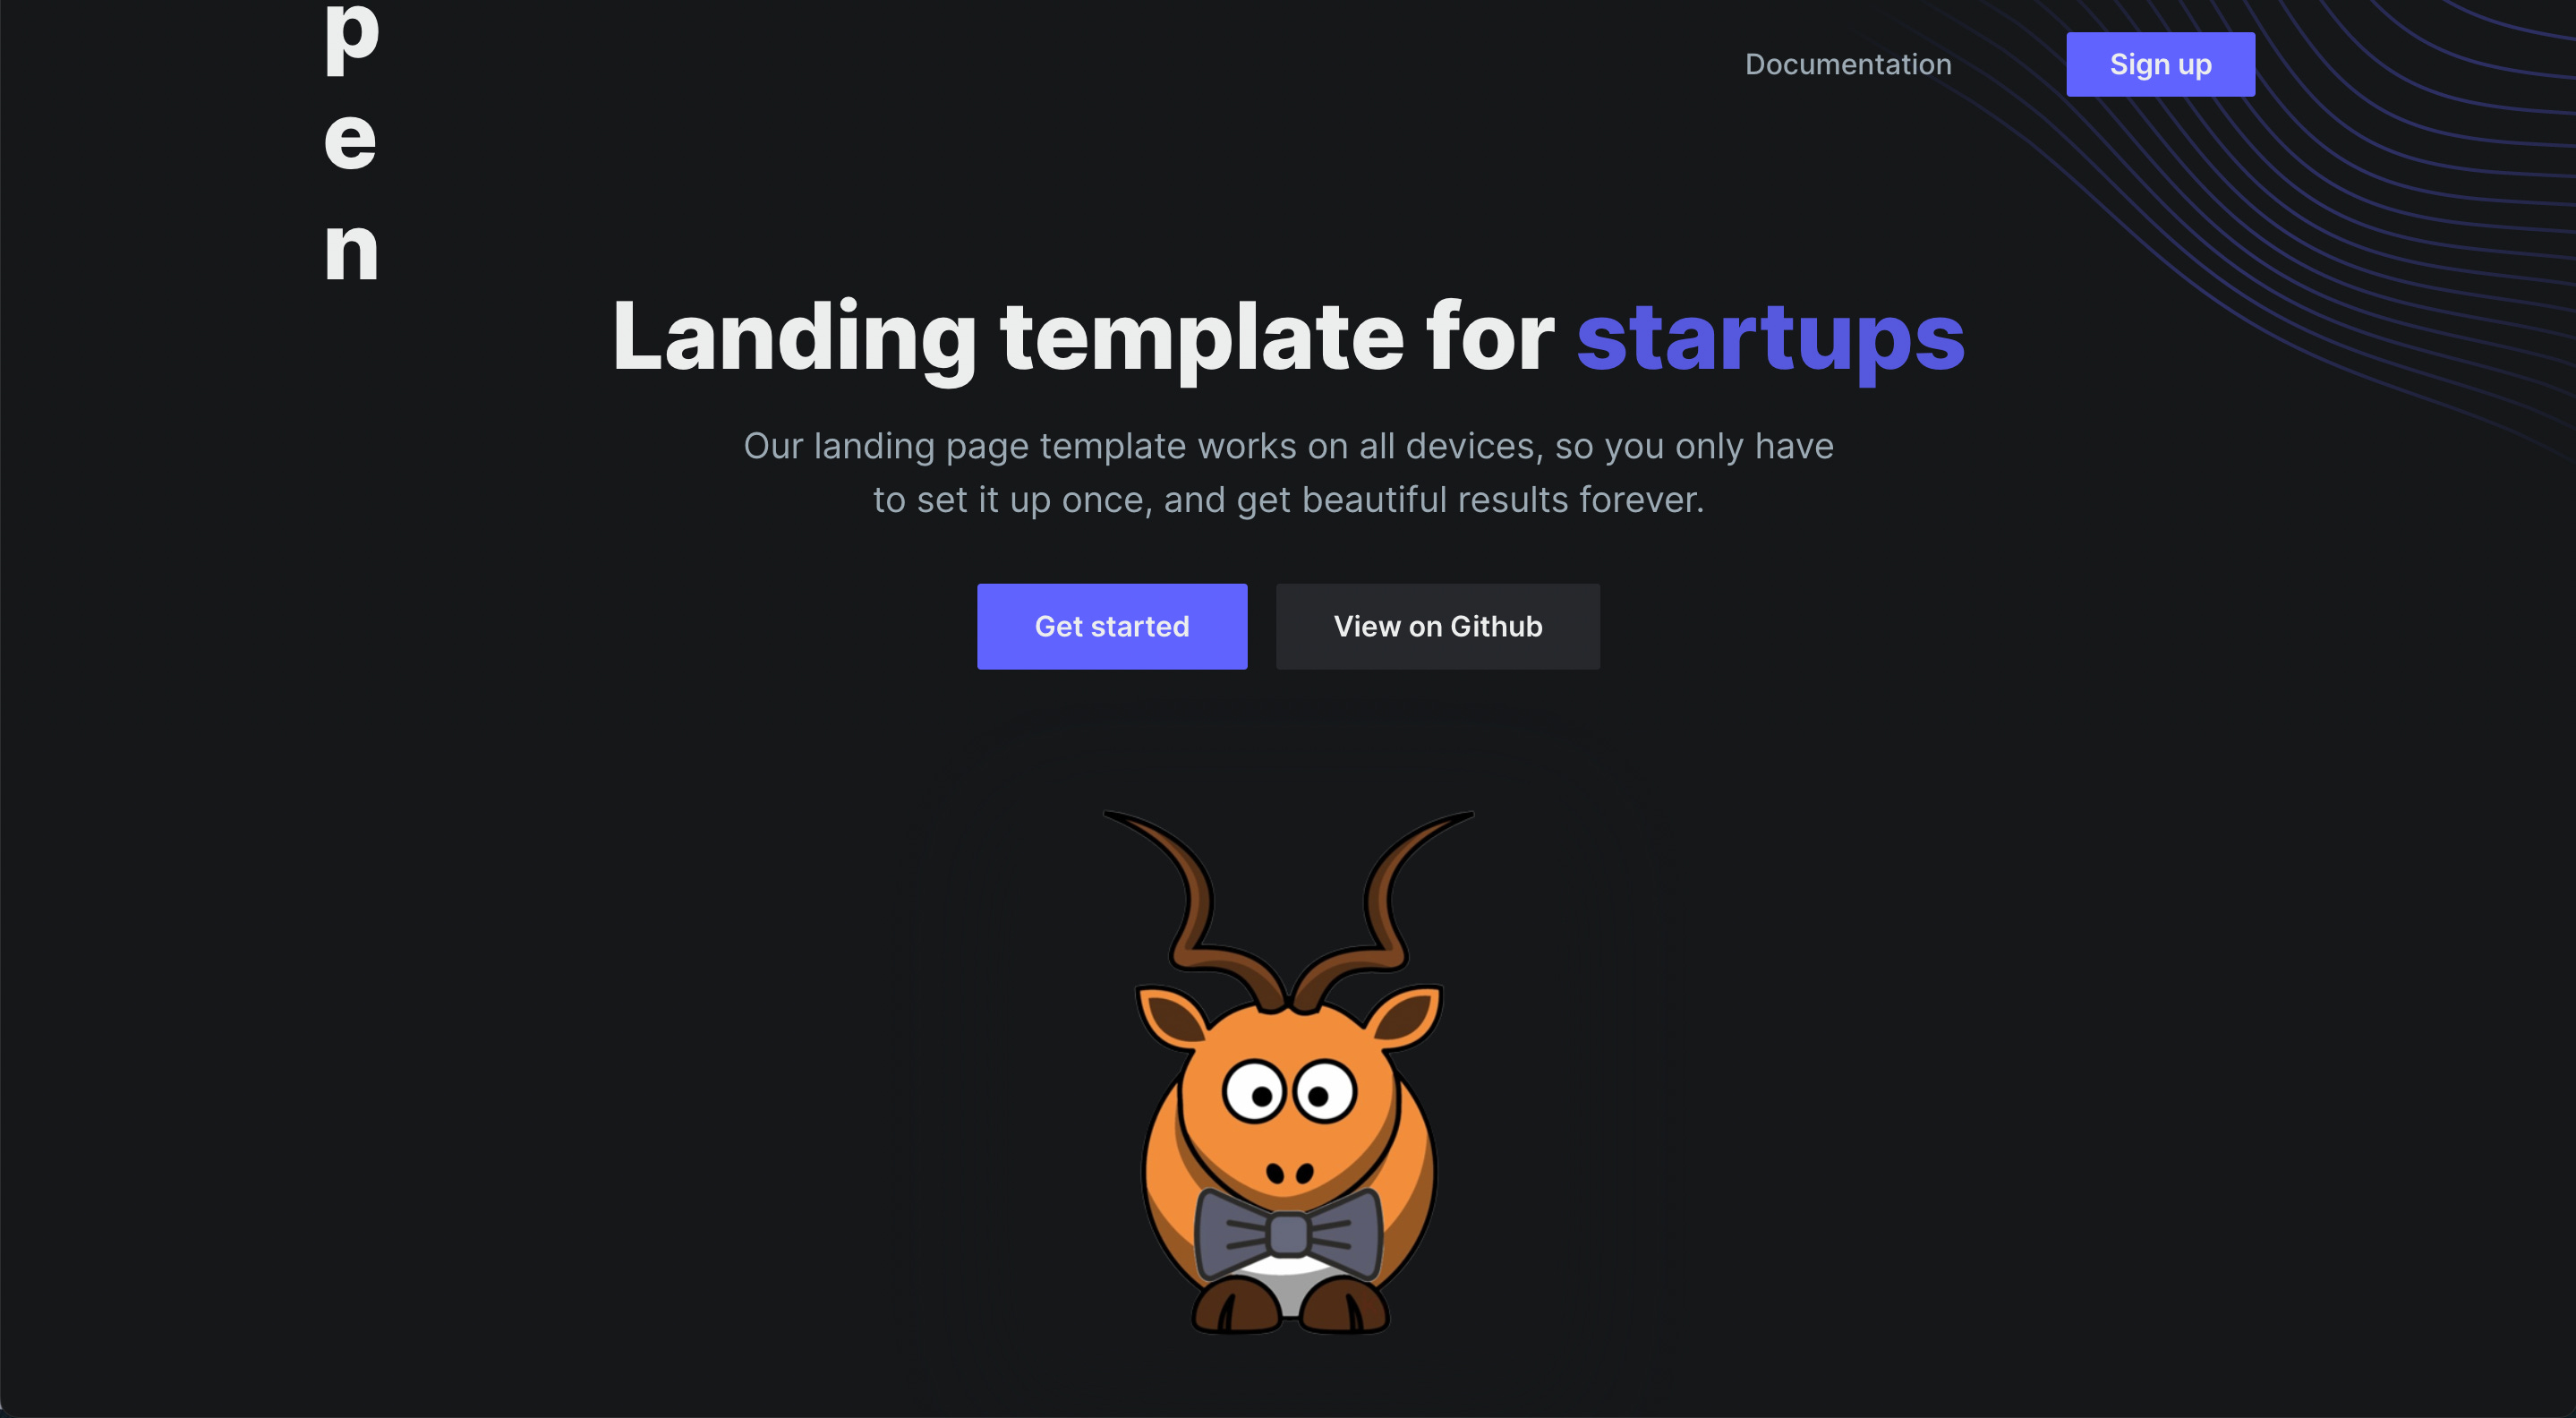
In this same file we can fiddle around a little with the content. For example, removing the <a>…</a> component removes the video link from the image we just added. If you need some help here the previous guides help you with basic html (this one and this one).
Now, with just some basic understanding of HTML we were able to make our landing page look very professional.
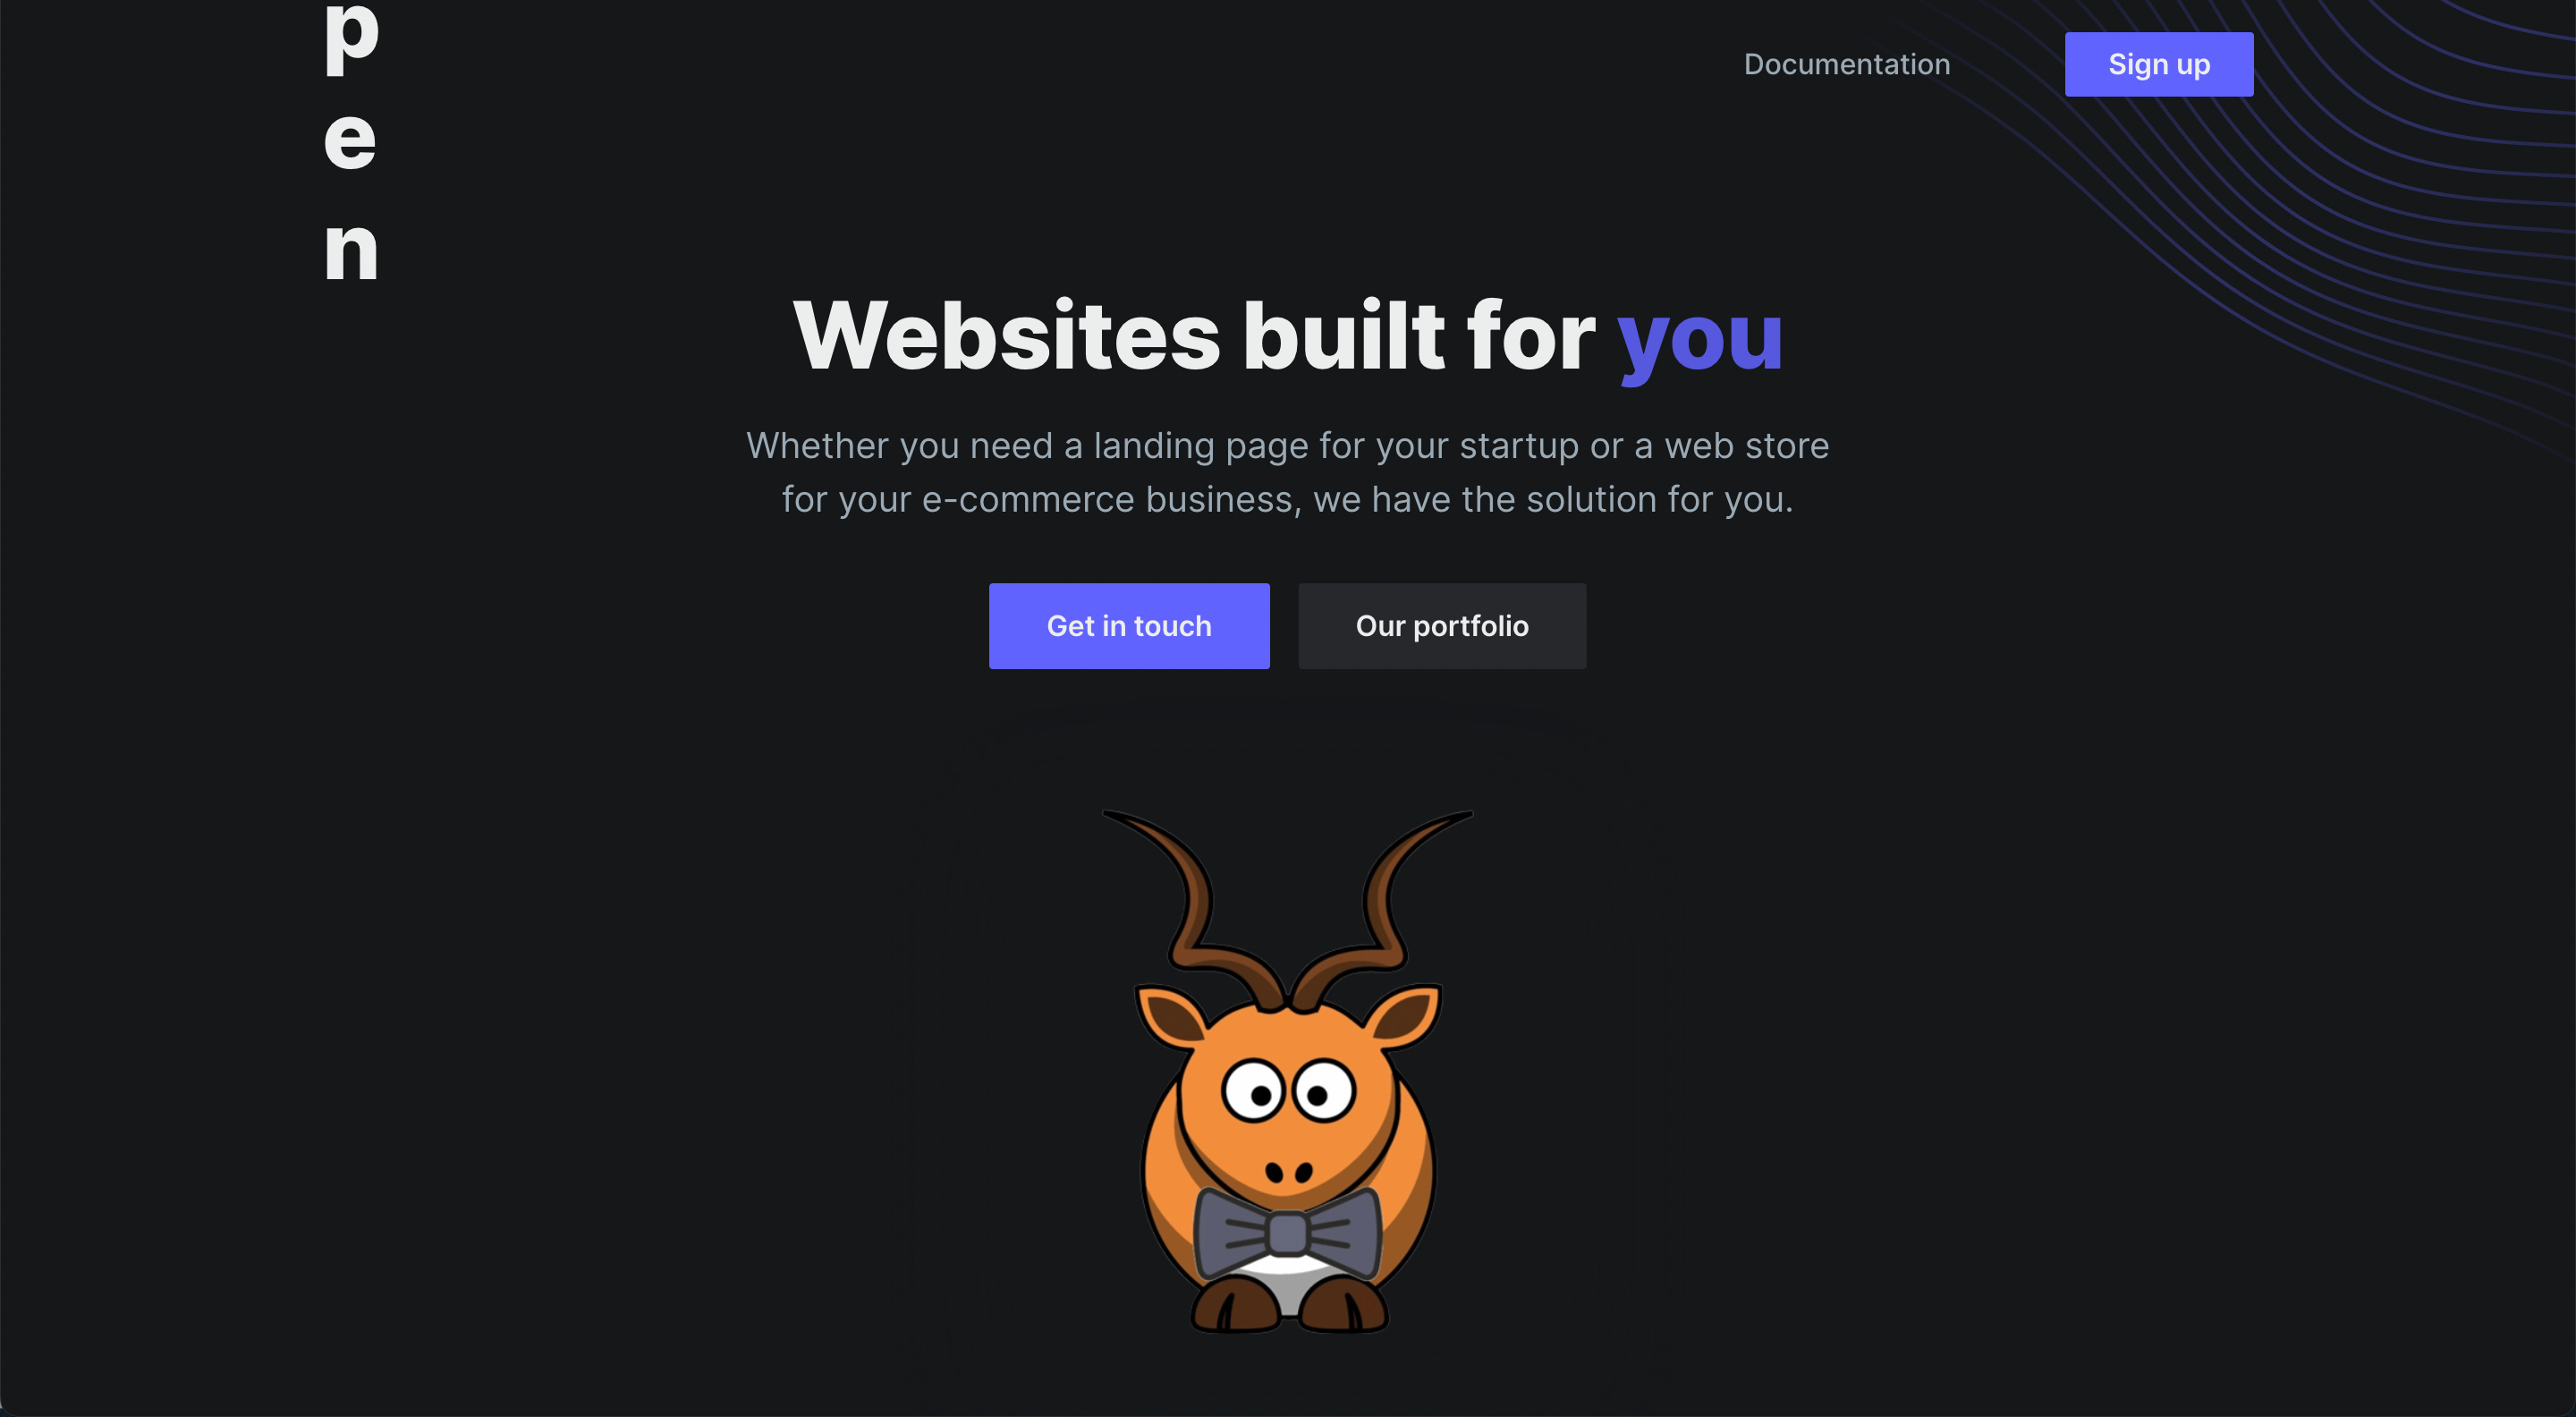
Like this, we can change the content for the entire landing page. Making a professional looking website for our business with just minimal knowledge of HTML and JavaScript.
When you’re done making changes, make sure to add and commit them so they appear on your GitHub page as well.
git add .
git commit -m "your_commit_message"
git push
3. Setting up AWS Amplify
Now that our website is ready and working in our GitHub repo it’s time to host our website. If you don’t already have an AWS account you can sign up here. Otherwise, in your AWS management console go to AWS Amplify, click on “New App”, then select “Host Web App”.
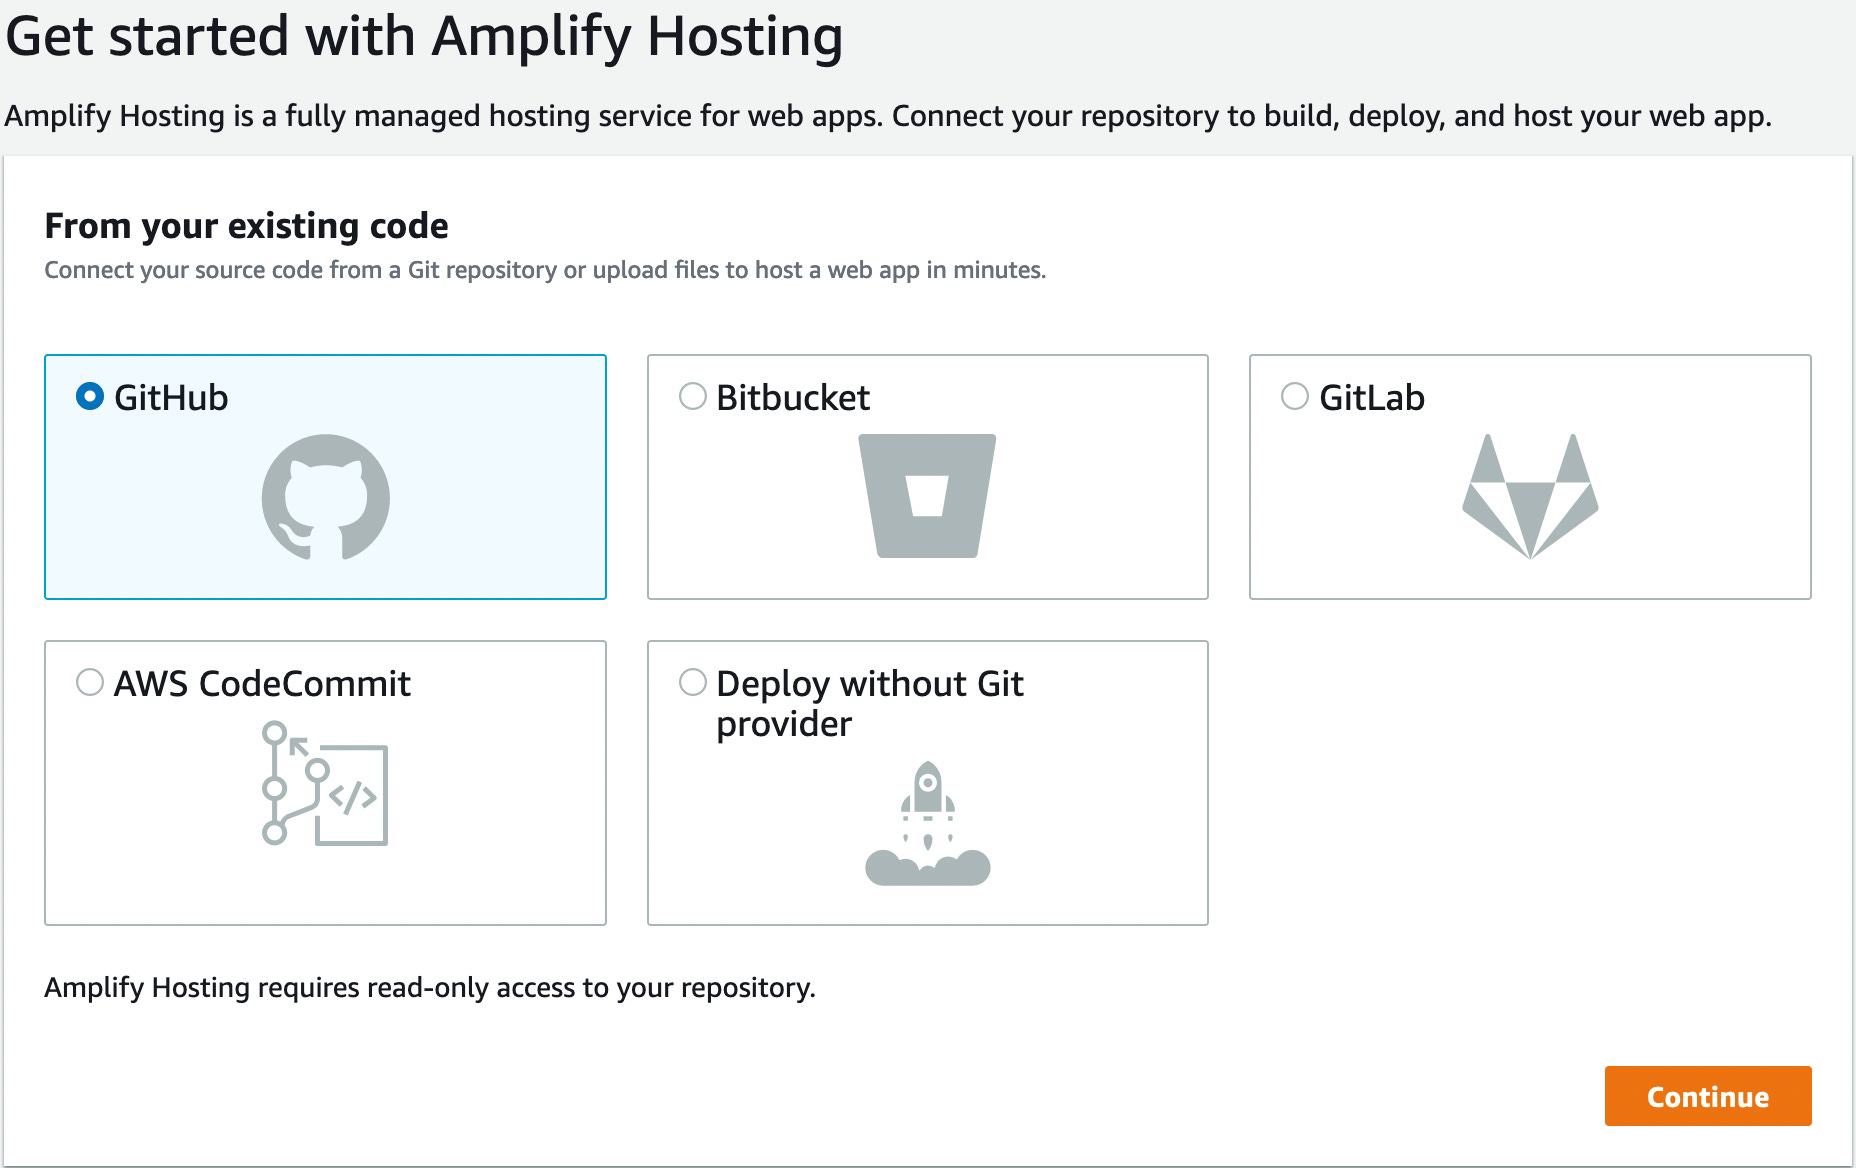
We want to select GitHub in this menu, then authorise your GitHub account and select the repo you want to use.
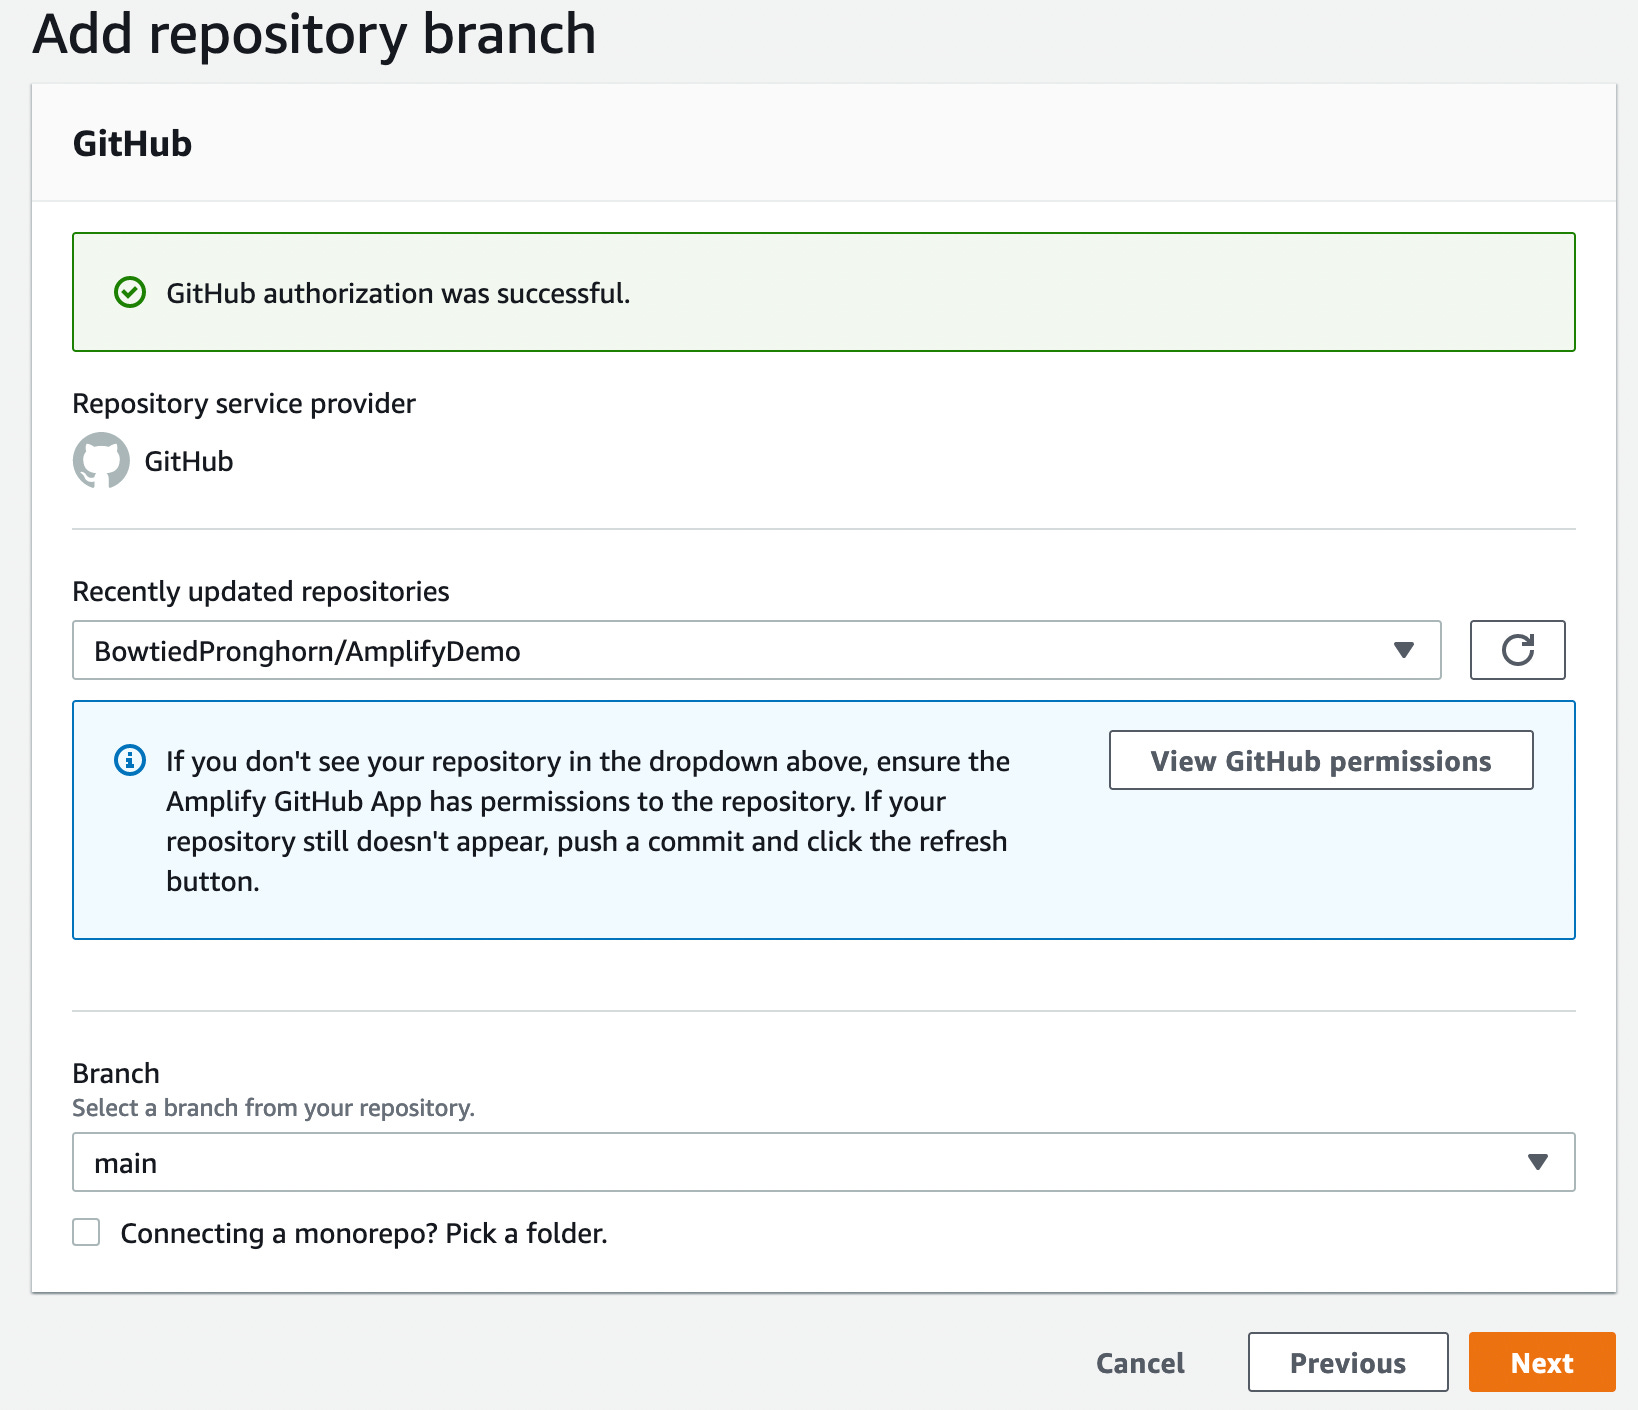
Amplify will then automatically create your build settings. Click “next” then “save and deploy”. Now wait for your build to complete and you’re done.
AWS will provide a domain for you to host your website on, but you will probably want to use your own domain. For this, go to the “domain management” section and add your domain. If you register your domain through Route 53 it will be easiest to add, but you can add any domain purchased from other providers.
If you found this guide helpful follow me on twitter for more updates on web development.